Today, I’m going to show you how to roll a joint!
Almost 19% of the population smokes tobacco, and while rolling a joint may look similar, cannabis is not as harmful. While bongs are convenient for small amounts of marijuana, we suggest leaving them at home. Carrying a giant bong in public might draw some attention, but hey, no judgement—everyone has their own preferences!
How much weed will you need?
It is estimated that per one gram of weed, you will be able to roll approximately 3 average sized joints. In mathematical terms 1/3 g = 0.33 grams. Keep in mind however, everyone rolls differently. Some may not use filters which will increase amounts used. For beginners we suggest learning to roll, with a filter.
Why smoke a joint instead of a bong, pipe, etc.?
Not only are joints more convenient on the go, joints burn slower, meaning you have more control over the intake. Whereas a bong you burn the weed entirely to get one large hit. So whether you’re burning for the first time or an experienced veteran this tutorial should help.
What is needed to roll a joint?
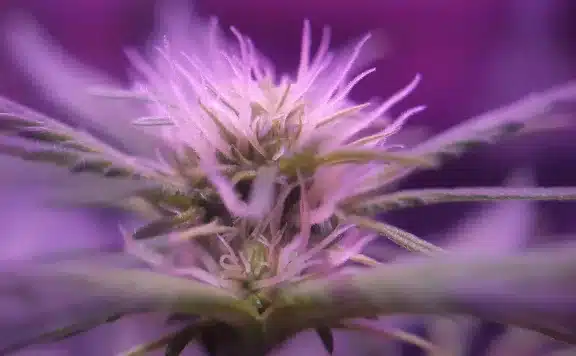
- Dried cannabis flower (pick any of the top strains whether it’s an indica, sativa or hybrid)
- Herb grinder (or really good scissors if you’re old school)
- Rolling papers (more information below)
- Thin cardboard for a filter
- Poker/Packer (small *not too pointy* object to pack weed down)
- Optional: If you want to smoke a spliff then you’ll need tobacco
What kind of papers should I use?
There are many different kinds of papers. There’s many different brands and flavours, everyone has their own preference, however your paper should be made out of rice or hemp. Hemp is best for beginners. You can ask at your next dispensary visit, what they considered the best. Two popular brands are Zig-Zag and Futurola.
However before you even get started we created this guide on how to tell good cannabis from bad if you’re new user and would like to learn more about the plant.
How to roll a joint or spliff
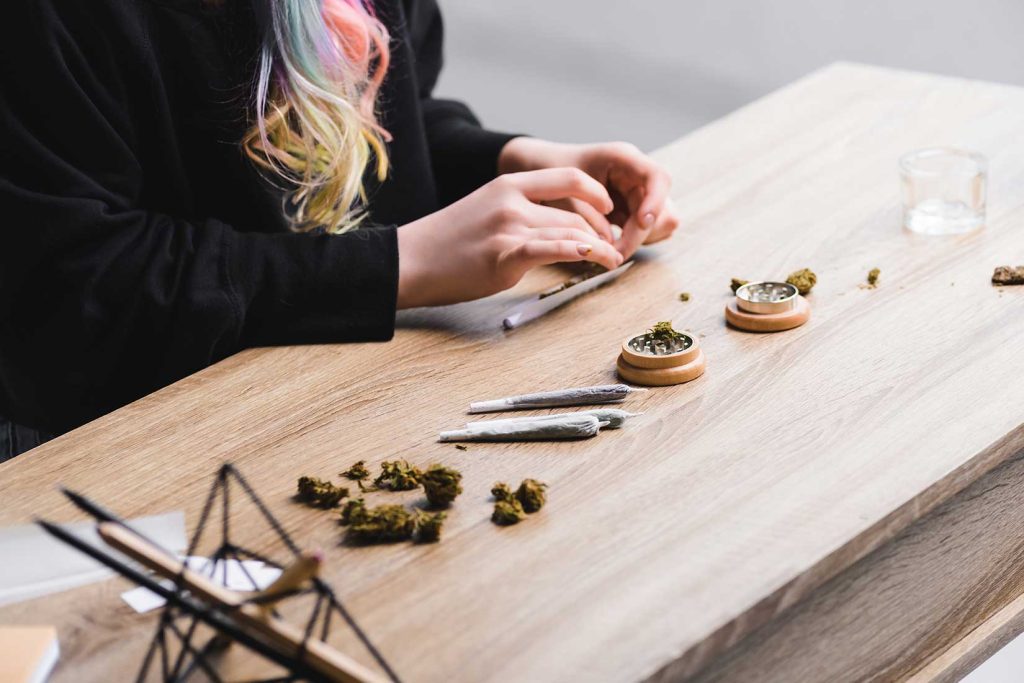
STEP 1: Grind your weed
After picking the strain, you’ll need to grind up the bud quite finely. We want no stems and no large nugs as this will make it difficult to smoke. If you are using scissors, beware of sticky fingers. If your fingers are too sticky from the weed, this will make the papers difficult to manipulate later on as you roll. It may be best to cut up large amounts of weed earlier and come back to roll later when your hands are both clean and dry!
STEP 2: Make your filter
Making a filter is a very pervasive and accommodating step to both beginners and veterans. It aids to catch small crystals from falling out into your mouth, prevents burning both fingertips and lips, and creates a vortex for smoke to come through. Thin cardboard is what we’re looking for. Cutting small rectangles from a business card or from the paper packaging would be best in this scenario. It needs to be thin to easily manipulate. If it is too thick it won’t bend the way we need it to, to fit inside the joint. Bend the cardboard in different directions until you are able to roll it into a tight cylinder.
STEP 3: Assembling
Take your paper, you should see a dark yellowish/brown coloured line, this is the adhesive for when the joint is ready to be rolled, touch lightly with your finger to see which side is sticky. This should be at the top of your paper (while horizontal) facing in. Proceed to put your filter at either side of your paper. Most commonly those who are right-handed will put it on the right side and vice versa. You will be pinching underneath to hold the joint. The end of the filter should be lined up with the end of the paper. Now with the remaining space, create a line of your ground weed, a bit larger than the width of your filter, but not by much.
STEP 4: Rolling
Once you feel you have the right amount, we are going to begin rolling. It is imperative to be gentle but have control. Roll the bottom part of the paper, over the weed. Repeat the motion of rolling it back and forth to pack the weed into a singular shape. While rolling, motion the weed to go toward the filter. Use your filter to hold in the weed while packing it but remember the bottom of the filter and the bottom of the paper should line up. You will notice there is a space at the top of your joint being created, that is a good thing!
STEP 5: Bringing it all together
We’re almost there! Roll the bottom piece of the paper (non-adhesive) over top of the packed weed. Once it is tucked and starts looking like a cigarette, it is time to SLIGHTLY moisten the adhesive side. If you have extra saliva in your mouth, take a second to remove it, we don’t want to slobber here we just need to activate the adhesive. By starting where your filter is, *slightly* moisten the adhesive line and start to roll it around the paper itself. Since the cardboard is less likely to move, it is easier to start at this end. Keep rolling the adhesive side of the paper underneath the paper itself as you go along. You should notice a cone shape forming. Do not close it off at the top just yet. With your poker/packer pack the weed down gently toward the filter, not too tight but tightly enough. If the empty space at the top of the joint is becoming too large, you may add some more weed and pack it down, depending on one’s preference. The size at the top should be the length of a pinky nail, at which point you are now ready to pinch and twist to complete your joint. BE GENTLE, you don’t want to rip it and your hard work goes down the drain.
STEP 6: Light up and enjoy!
Practice practice practice! If at first you don’t succeed, try again! Remember to be gentle but have control. Play around with different papers, different sized filters, or the amounts of weed, but don’t give up! These skills will help you learn to roll other styles like blunts.